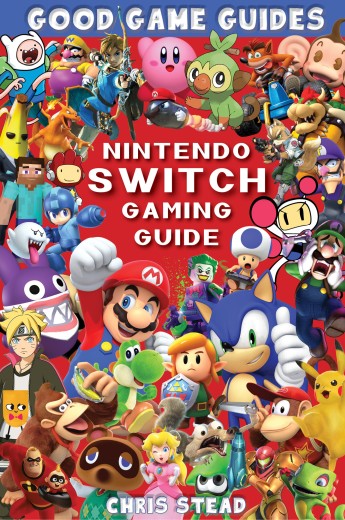
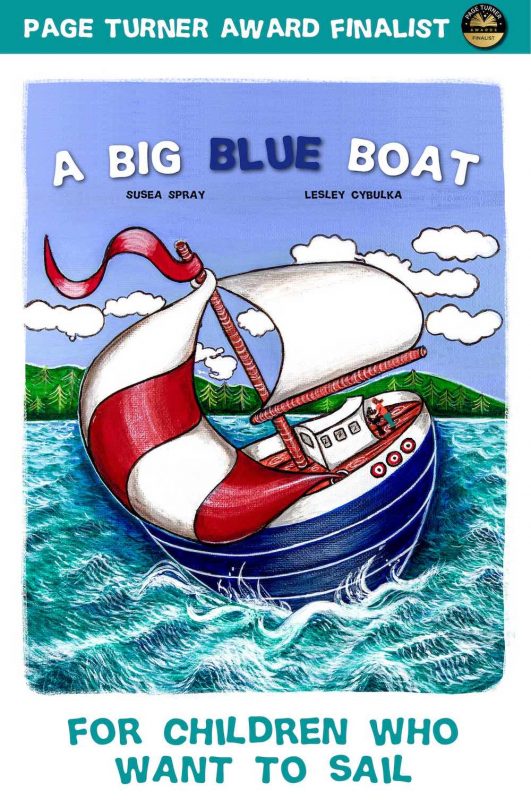
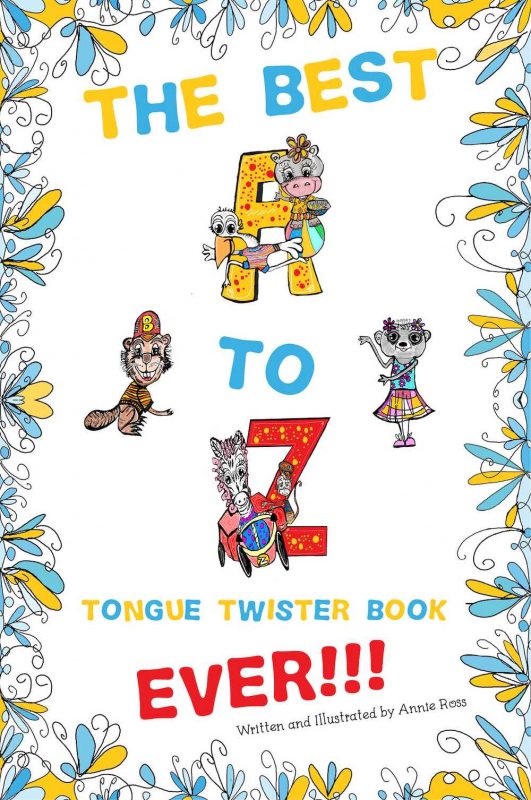
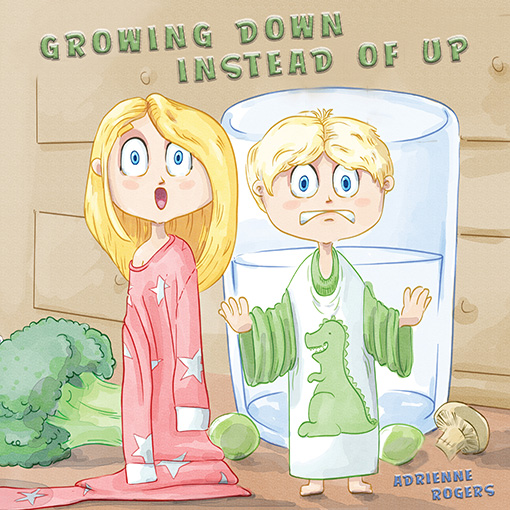
Every book needs a cover and in a world where a million books are created every day, your book cover needs to be outstanding.
Bleed, margins, spines, embedding fonts, source files, layers, swatches and CMYK vs RGB are just some of the design terms we throw around every day here at Old Mate Media. If those words strike you down in an anxious whirlwind of confusion it’s time to calm your heart. You are not alone. Most authors don’t understand all the particulars and intricacies of book design.
It’s awfully important to get all these elements and many more right and your cover is one of the best places to invest your funds in a professional. But here is the kicker. Artists aren’t designers either. They don’t make books and go through the process of converting them into ePubs, Kindles, hardcovers, paperbacks, apps and more.
At Old Mate Media, we create the art, do the book designs and upload the various formats to their storefronts, so we’re across the whole spectrum. But we also complete plenty of books for authors who have had their cover design done elsewhere and it’s astounding how often the file they receive isn’t print ready. We’ve written this article because of the dizzying percentage of authors using our design service that send us cover art that hasn’t been prepared properly.
So how do you make sure your artist delivers you a book cover file that is everything it needs to be? We’ve created this step by step book cover guide to help you ensure your cover artist doesn’t leave you short changed. Whether you end up using our services or not, we believe in empowering indie authors with the knowledge to grow.
Book Cover Tips #1 - What is your book’s trim size?
It’s fair to assume most authors will be aiming to release their book in print. So how big is your book going to be? It is the first thing an artist needs to know to prepare your cover for you and if you change your mind, or are not sure, before you commission the cover, then it will need to be reworked. You can rarely just expand or shrink the image to the new size. Words will be cut-off, characters won’t be centred or your printer will blacklist the cover outright for having elements outside the printable margins.
Also remember that the bigger your book, the more – in general – it will cost to make and post, so don’t go overboard without good reason. For more, visit our list of the most common trim sizes in inches, centimetres and pixels. Just remember that a book cover must include a front, a spine and a back when submitted to a printer.
If we receive just a front cover image, then we will need to complete the spine and back with something more generic. This could end up being a block colour with text and another asset over the top. This other asset could be a photo of the author, or another image from within the book. It’s a totally acceptable solution if you’re left hanging with just the front image, but does take more design work.
Book Cover Tips #2 - Have you considered bleed?
Perhaps one of the most common mistakes we see from illustrators working on covers is that they don’t consider the need for bleed. Bleed is the name given to the part of an image that extends past the trim size of your book. It’s an essential requirement of every printer. The bleed is a minimum of 0.125-inches in width the whole way around your book, and we have a much more extensive guide to the concept here.
Book Cover Tips #3 - Paperback or Hardback (or both)?
Paperback and hardback covers have quite different requirements. Hardback covers require a lot more bleed than a paperback. This is because a part of the cover gets wrapped around into the interior of the book. It’s how the “hard” part is kept contained. So your cover art therefore needs to have bleed of 0.625-inches added on all sides.
If you intend to sell both paperback and hardback, or are unsure, then simply get your artist to make the book with hardback bleed. As it is bleed – excess background of your cover – your book designer can trim it at 0.125” or 0.625” as required.
Book Cover Tips #4 - If you plan on releasing a Hardback, will you also do a Dust Jacket?
While the dust jacket will borrow much of the art from the cover, it actually includes two additional wings that fold down inside the book. Often you can put an author bio here or some more information about the book. As such it needs to be supplied as its own unique file and to take into account the extended cover. The size of the jacket is printer specific, so you should have already worked out your preferred printer before commissioning a jacket design.
It’s worth noting that even if you end up with three or four different cover files, with minor adjustments in the size to handle alterations in bleed and spine width, these aren’t significant additions. If your artist tries to charge you the full amount again for these extra versions, they’re taking you for a ride.
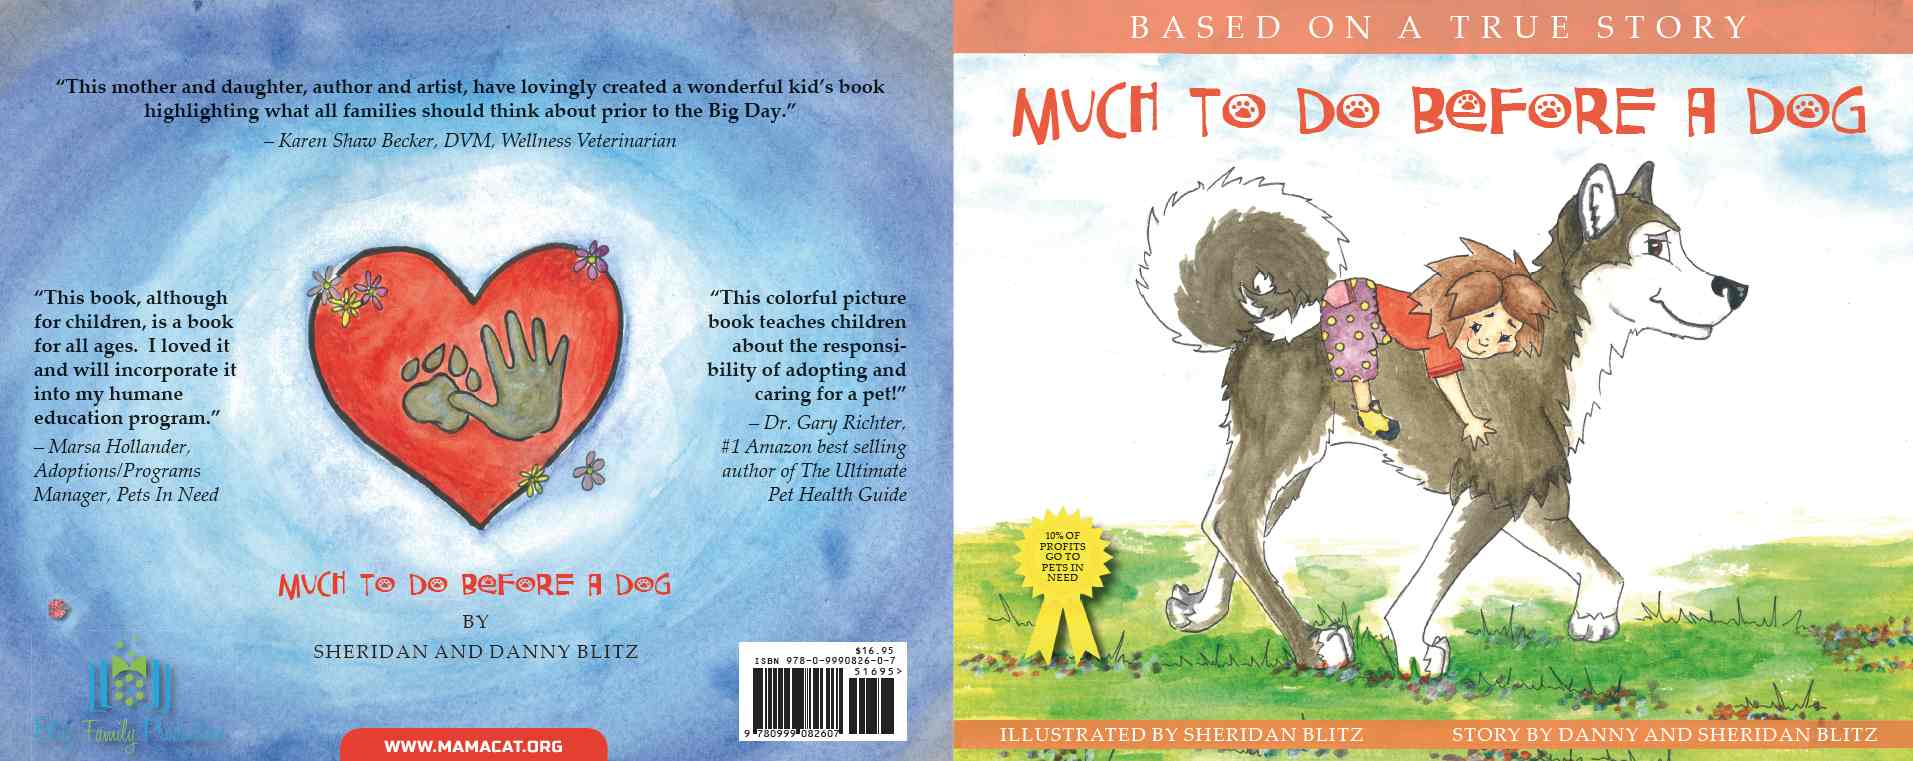
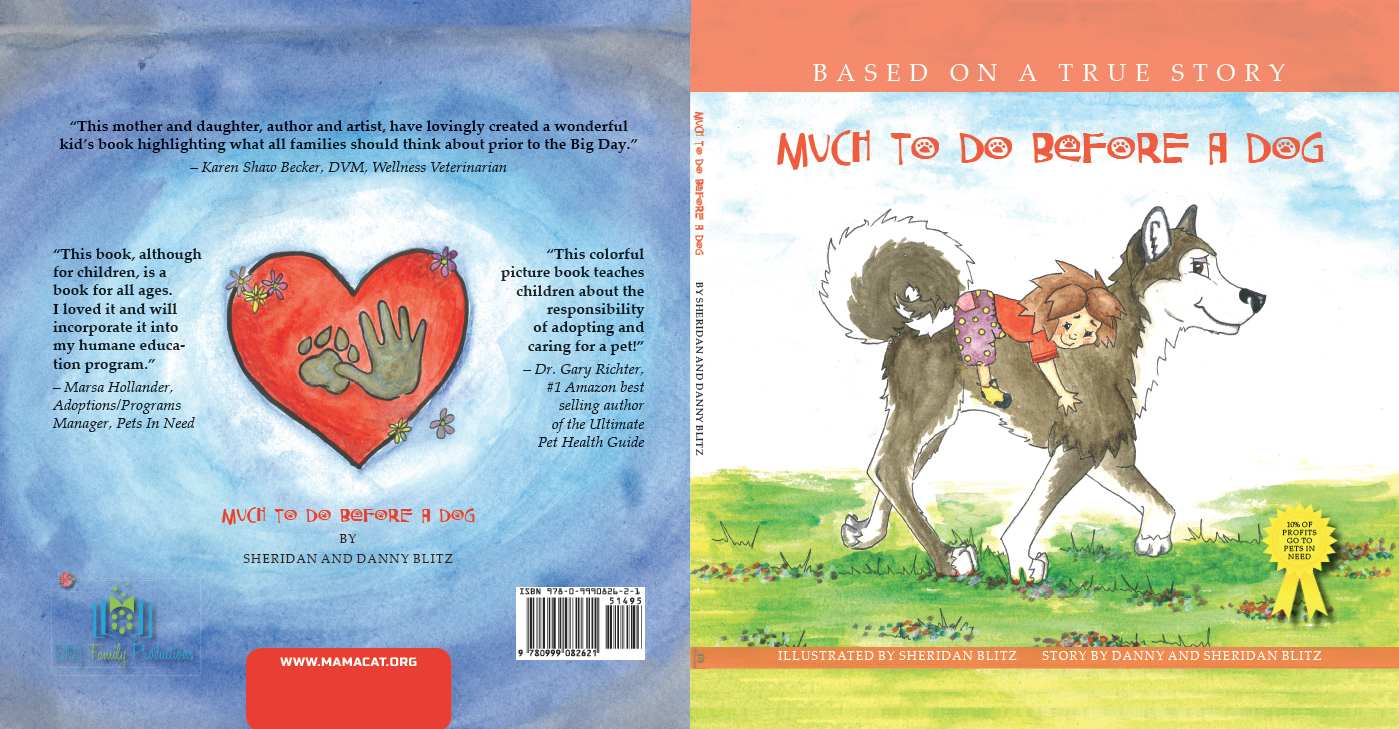
To help you understand how these variations can impact your final image, here are three versions of a book cover. We did these for fantastic indie authors Danny and Sheridan Blitz from the USA and their book Much to do Before a Dog. A mother/daughter team, they didn't have full front-to-back cover art, so we made it work with some of the other art leftover from the internal design of the book. They requested a paperback for Amazon, hardcover for IngramSpark and dust jacket for a traditional publisher. You can see the variations that required in spine, bleed and design here.
Book Cover Tips #5 - Where is your book being printed?
Just to make everything fun and easy, each printer has different specifications and print requirements. Any large scale offset printer will work very differently to a print-on-demand retailer such as KDP or IngramSpark. Even between KDP and IngramSpark there are differences, not big ones, but it’s rare that you can put the same cover on both. The most common variation is in spine width, which impacts your overall cover dimensions.
We have recently had three separate authors who came to us with covers that weren’t designed to meet their specific printer’s specifications. This caused them stress and delays in getting their books on sale as we organised the required adjustments.
The best bet is to direct your designer to the specification templates for the printer you are using. If you are using an international or local printer, they will provide you with their requirements. If you’re in any doubt at all, make sure that your contract with your cover artist includes the supply of a layered source file. The key word there being "layered."
If we, or your designer, have a layered source file of the cover, then it’s easy to make minor changes to width of the spine to suit different printers without having to reengage the artist.
Book Cover Tips #6 - How many pages is your book?
The worst mistake you can make is to get your book cover finalised before the text has been formatted and edited. So not just the initial edit before design, but also after the internal book is completed to eradicate gremlins like widows. The number of pages in your final book after all the formatting and editing is done will change the spine width of your book cover. Many authors design the front and back of their cover before the book is formatted to get a head start. That is fine as the hard work for the artist isn’t in the spine. But if you take this route make sure the artist is aware that the final spine width is still incoming.
Note that the word document page count of your story is no indication of the final page number and neither is word count. Once the text is placed in the final trim size, a font decided and a style (paragraph breaks, chapters starting on the right hand page, etc.), the page count will change dramatically. And with that, so does your book's cover dimensions.
Book Cover Tips #7 - What is your ISBN?
Your ISBN will be included in the barcode on the back of your book. IngramSpark and KDP will add this for you. An offset printer will need it included in the design. Do not buy barcodes from Bowker. These are graphical elements that can be easily created by your designer or using a number of free tools online. In fact, we offer barcodes for free to all our authors as part of our service.
Book Cover Tips #8 - What will go on your cover?
Do you have specific images that you wish to include on your front or back cover? If you do, provide these as high resolution jpgs to your designer. If you know the style of what you want included, but don’t have a specific image, let them know as precisely as possible. Be specific if you wish them to source an image that is only used on your book.
We even love seeing sketches from our authors, too. They can be very basic, kindergarten quality images, but a picture says a thousand words and ensure the smoothest workflow!
Book Cover Tips #9 - What do you want your cover to look like?
A designer’s job is to bring your vision to life. To do this, they need as much information as possible. Things that will help include:
- Examples of covers you like
- Examples of covers you hate
- Fonts you like
- Fonts you hate
- A feeling that you want to achieve with your cover: the tone, the emotion, the theme.
- Where your book will be sold.
A good designer will probably make recommendations based on their experience, but it is of course up to you whether you take this on or not.
A good tip, once you receive the first draft of your cover, is to load up Amazon and search your main keyword. All these book covers will come up and they are your competition. Put your cover up next to them and shrink it to the same size. Does it stand out? If not, keep working at it and play with your colours and your imagery.
Book Cover Tips #10 - Are you releasing an ePub or Kindle version?
If you’re going to release your book digitally as well as in print – and why wouldn’t you? – then there is not too much you need to do. Most standard books size covers are perfectly fine to use in digital form. That said, you don’t need a back cover at all for a digital book, so if there is a really important visual element you want to appear in all versions, make sure it is on the front.
So, are you ready to commission your artist?
If you have answered all the above questions and are satisfied you have all the information on hand, you are ready to go. Now you just need to tick off what your artist supplied to make sure they have hit all the requirements. Let’s do a checklist:
What you need to supply:
- The final trim size
- An indication of the amount of bleed required
- Final spine width
- Guide to what you’re after.
- Any reference material
What they should supply:
- High-resolution print-ready PDF of the cover, including bleed.
- Optionally, a high resolution print-ready PDF of the cover, including bleed for hardback.
- A high-resolution jpg of the cover at 300dpi. The 300 dpi is the minimum resolution for any print quality image. We have an extensive guide to dpi here.
- The layered source file.
Want all this in one easy PDF/word document ready to complete? Grab it here.
There you have it fellow indie authors. The detailed, ten step process you can follow to nail your cover brief and to bring your vision to life.
Get Old Mate To Do It?
After reading the above, hopefully you feel armed and ready to go on your cover creation journey. However, perhaps you’re not. This is high-level design terminology and work flow, there is no shame in finding it confusing or too much. Or perhaps you already have a cover and are now alarmed it may let you down at the final hurdle.
Here at Old Mate Media we take our authors through each step in this process, discussing the best options and implications of each choice. It is all part of our full service approach to generating the best book possible and helping authors navigate the publishing pathway. If you need us, we are here to help. Send us an email and let’s have a conversation about what we may be able to do to help.
This cover design brief guide is just one of many free indie author guides we’ve produced. To ensure you get each new guide delivered to your front door, sign up to our newsletter, and follow us on Facebook, Instagram, Twitter and LinkedIn.

